In the Spring we made flower fairies and now we are making leaf fairies!
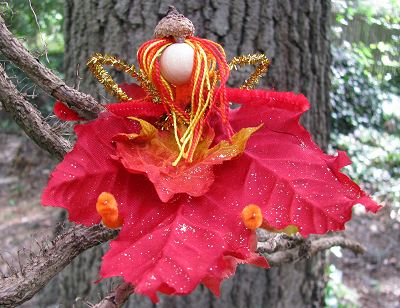
Materials:
- 1 wooden bead
- artificial leaves (or preserved fall leaves)
- 2 chenille stems
- 1 metallic chenille stem
- embroidery floss or yarn
- glue dots or hot glue gun
Directions:
1. Bend a pipe cleaner in half and push the bent part through the wood bead so just a little loop is through the bead.
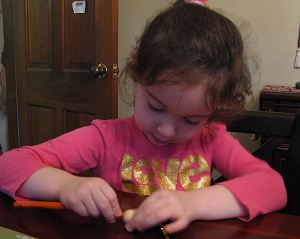
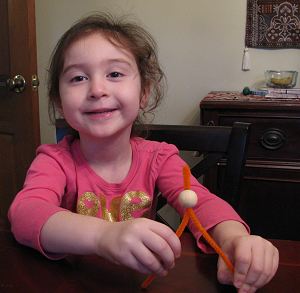
2. Roll up a loop of some embroidery floss and thread through the chenille stem loop. Tighten by pulling at the bottom of the chenille stem. Cut the loop of floss so that this will be the hair.
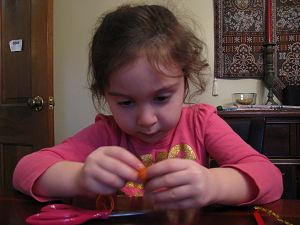
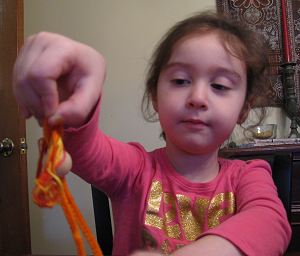
3. Take your second chenille stem and wrap it around the first stem to form the arms of the fairy.
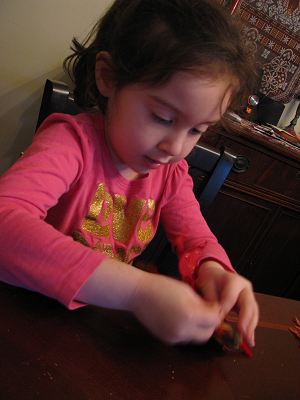
4. Arrange the leaves as clothing and then use glue dots to adhere them to the chenille stems.
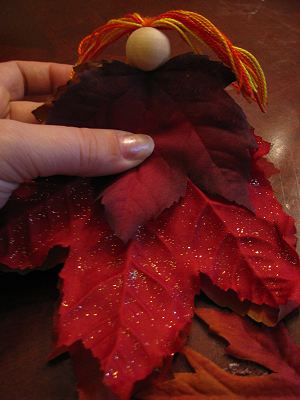
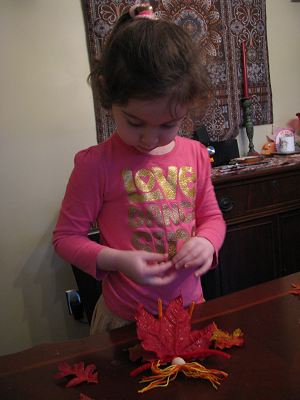
5. Connect the ends of the metallic chenille stem to form a circle and twist in the middle (should look like an “infinity” loop). Wrap the middle around the body of the fairy once and twist to secure. Shape to look like wings.
6. Using glue dots or a hot glue gun or really strong tacky glue, you can glue an acorn cap to the wooden bead to form a hat or bonnet.
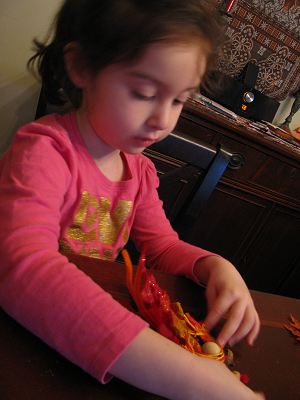
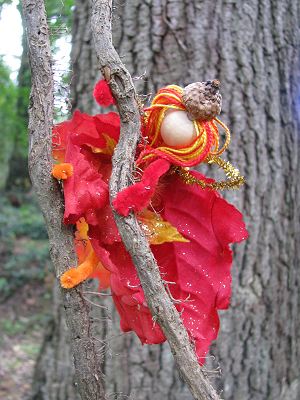
Once again we had a great time posing our fairy in the backyard!
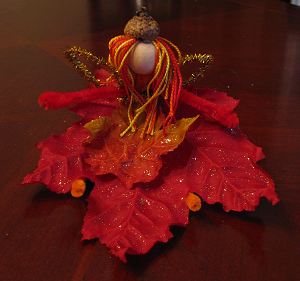
Educational Connections:
This one is really more about beauty and imagination than any other specific educational goals. However, you can definitely find some educational connections:
- Science / Botany: How do the plants around you change as the fall begins? What do you do to prepare your garden for the fall?
- Science: Why do the leaves change color?
- Language Arts: What jobs might your leaf fairy have to get the world ready for fall? Write a story about your fall fairy’s autumn preparations.

Very cute! We made our with real leaves and it already crumbled! Love the pipe cleaner idea so that you can attach it!
They’re gorgeous! We don’t get red leaves because we have eucalypts, but one day it would be nice to see them.
Adorable and it looks super easy to do. This is something that I’d admire, but be too afraid to try if I saw it at someone’s house. Thanks for sharing the steps.
I love the leaves integrated into the design, these are adorable!
Now, THAT is adorable! Looks like she had fun! Tweeted for you!
That is simply adorable. What a great fall craft for children. Have you seen fairy doors? Too sweet for words.
That is so cute, my daughter loves it.
Love the leaf fairy! I want to make leaf people now — or bugs, or sea creatures……Thanks for the great idea.