My son and I made this simple dreamcatcher craft for kids.
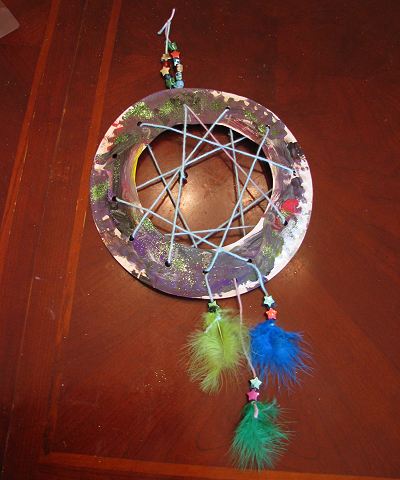
This is a revisit of the dreamcatcher craft my daughter made last year.
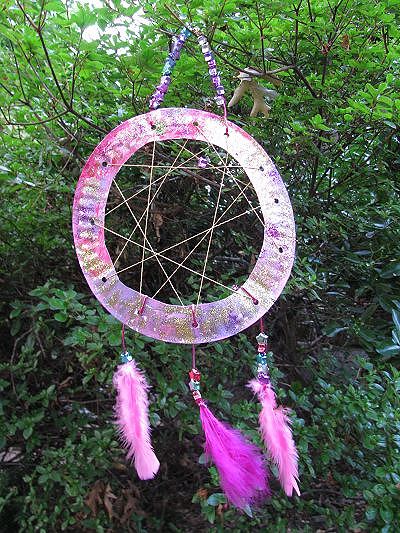
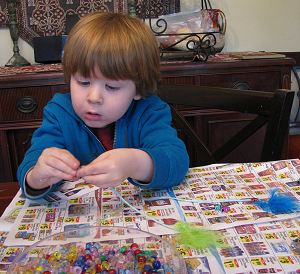
My son always loves painting and drawing but lately has become more interested in crafts. We had some one-on-one time and he had been admiring the one that still hangs in my daughter’s room. Since we are learning about Native Americans and Colonial culture during November, the timing was perfect.
The authentic method involves willow branches and a complicated knotting technique that might be a bit tricky for a four year old. I created this modified version of a dream catcher so that even my preschooler can actively participate in the craft.
Materials:
- paper plate
- paints, glitter, stickers for decorating
- scissors
- single hole punch
- beads
- feathers
- string or yarn
Directions:
1. Cut out the center of the paper plate.
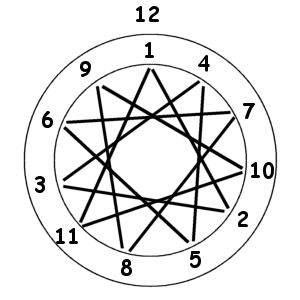
2. Punch 11 holes in the paper plate at even intervals (note: According to tradition, there are either seven points of contact, for the seven prophecies, or eight points of contact, for spider’s eight legs, for a dreamcatcher. In this modified version, we found 11 holes works best.)
3. Decorate the paper plate as desired.
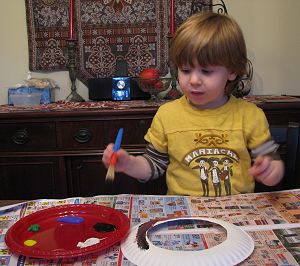
(In our opinions, glitter is a necessity for this craft.)
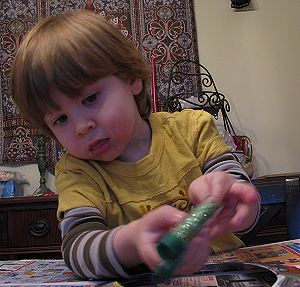
4. Measure out your yarn and tape an end to the plate.
5. Thread the yarn through in a triangular pattern. (should be every fourth hole). I actually labeled the numbers on the dreamcatcher for my son so we could slip in a little number recognition. (Tip: Wrap a piece of masking tape around the end of the yarn to make it easier for a child to “weave”.)
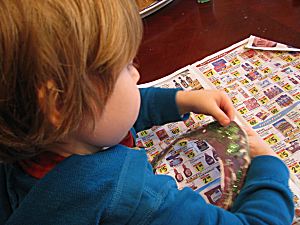
 6. At some point in your threading, add another bead to symbolize spider. (Note: I told my children that it represents a spider but they could imagine it to be any dream guardian they wanted. For my daughter, this represented a fairy, for my son, he wanted a dragon.)
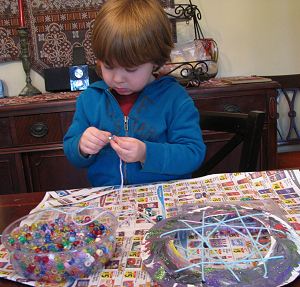
8. Continue threading until you reach the place where you started. Knot the two ends together near the plate. Add beads to either end and then tie off at the top to form a handle.
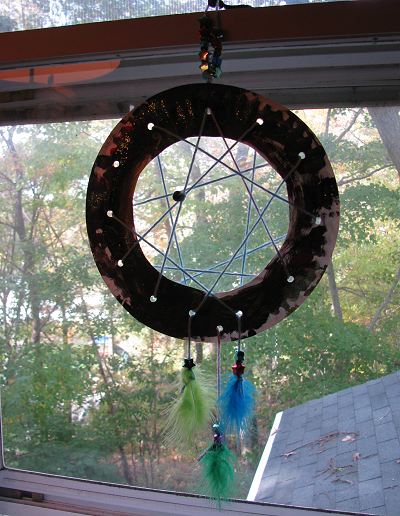
9. Cut three pieces of yarn. Tie a feather to each of the three pieces of yarn. Then, add a bead to the three pieces.
10. Add one more hole to the plate between holes 8 and 5 on the diagram. Thread the three pieces of yarn through holes 8, 5, and the new hole. Tie off at the back.
Hang on your window for sweet dreams!
While we were making the dreamcatcher, I shared the Ojibway legend of how the spider wove the dreamcatcher to keep bad dreams out and allow good dreams through (or to catch the good dreams so they will stay and to allow the bad dreams to fly away, depending on the teller). You can find several versions of the legend online, including here and here.
Educational Connections:
- History / Culture: Discuss the importance of dreams in the Native cultures. What purpose did dreamcatchers serve in Native culture? Who made them and for whom?
- History / Culture: Research which materials that native artisans used to make dreamcatchers. What materials would they have available?
- Mathematics: Count the holes for your weaving or use a number guide to “connect the dots”. Make patterns with your beads.
- Home Arts: Practice the fine motor control of stitching.
- Language Arts: What is a legend? What purposes do legends serve? How did people share legends before most people could read and write? Do people still tell each other stories? Why are there so many versions of the dreamcatcher legend? The bead in the center of the web symbolizes the spider: What is symbolism?
- Language Arts: Tell your own story about a dream guardian. What animal would be your dream guardian? What would that animal teach you to make to keep out bad dreams?
- Language Arts: Read the two books about dreamcatchers I reviewed.
- Emotional/Social: What are dreams and why do we dream? What techniques might help us redirect nightmares so that we can have more pleasant dreams?

What a great idea! I am going to try this to help my kids work on their fine motor skills. Thanks!
This is awesome- I love it!
What a neat idea! I would love to make something like this!
Love doing this project with my mixed ages. I do every couple of years as my children change out. It’s surprising how long these last. Think your numbered template is great – works perfectly – no guessing- Pinned it.
So creative 🙂 Love it!
thankks is great
i love your page it is so easy to follow, as i 4 grand kids and they love making things.
i can say i love making things,last Christmas i made a craft bag out of a coles freezer bag , i put glue pencils paper and all the things for craft that i could find it was filled to the top and the kids loved it,,when they finished playing with it they could zip it up and put in the cupboard and get it out another day . it was great so instead of getting one present they got lots, so thank you for the time you put in to this page.
from ellenruth.
What a cute idea! Teaches kids about other cultures, art, and how to dream. Yours looks very easy to make too – I will have to do this with the little ones sometime! 🙂
What is the measurement between holes? Can’t wait to make these with the kids!! Really great idea!!!